
How to customize and embed a widget? (3/3)
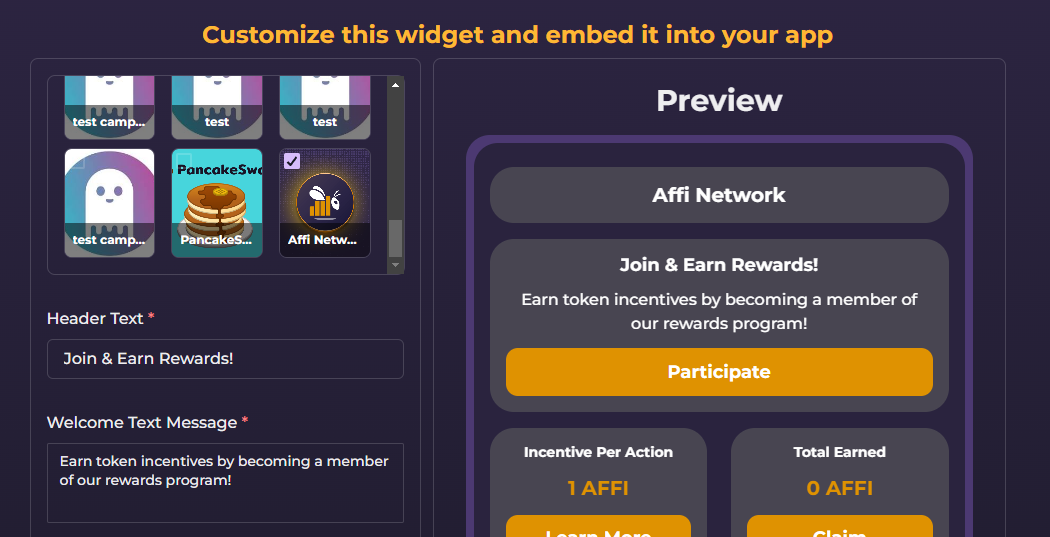
Step 1: Select Your Campaign.
Go to the "Suite" and click on the “Widget” tab (this should already be pre-selected). Choose a campaign you've created, or any campaign you'd like.

Step 2: Customize Your Widget.
Add custom text to the “Header Text” and “Welcome Text Message” sections.
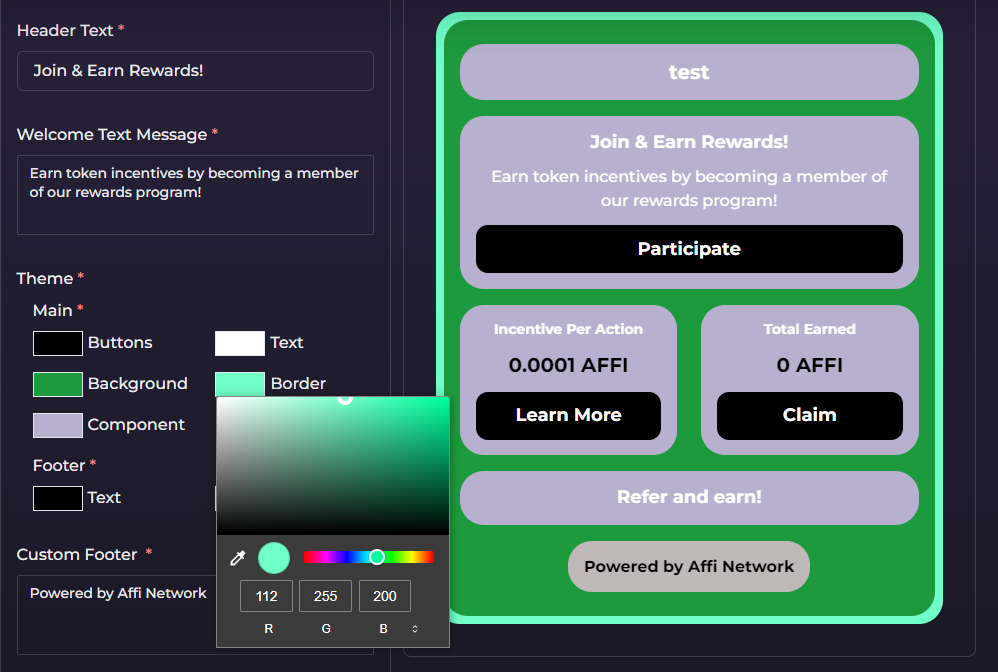
Select custom colors for each widget component by either pasting the RGB code, using the eyedropper tool, or manually picking your desired color for each component of the widget.
Step 3: Customize Your Footer (Business Subscription Required).
You can personalize the footer with your company name or any text of your choice, such as a disclaimer or a call to action. This feature is available only with the Business subscription.
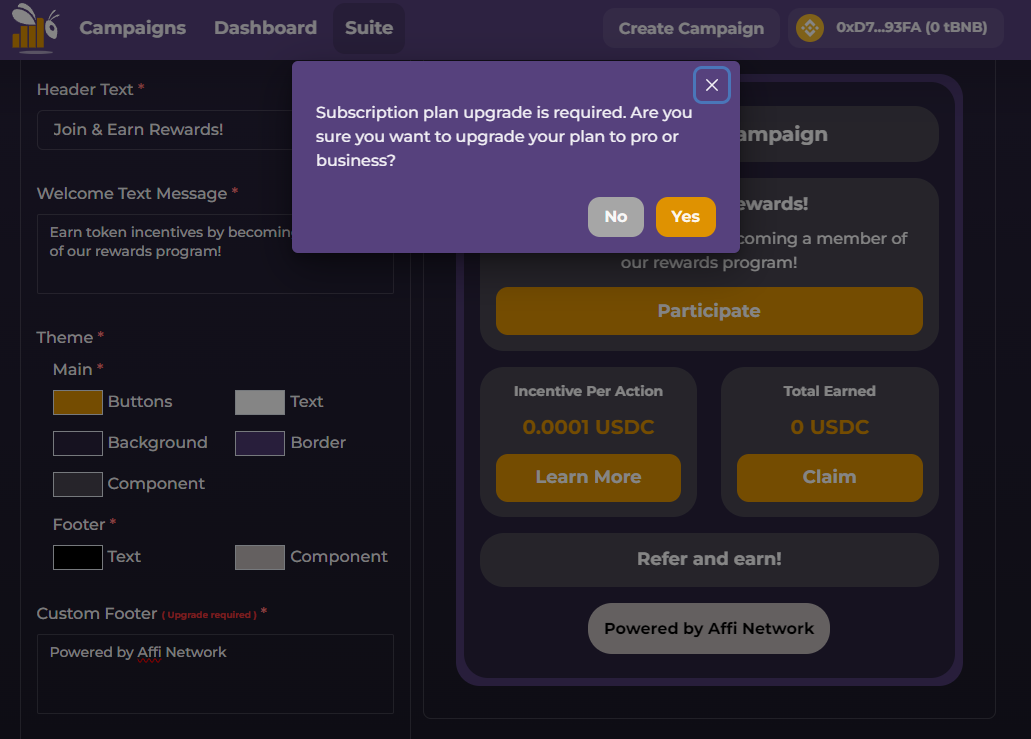
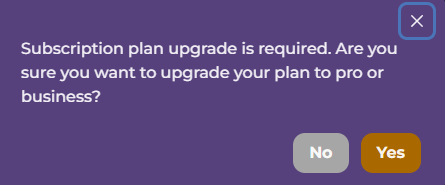
A pop-up will appear asking you to upgrade—click “Yes” to proceed (don't worry - you won't have to pay any real dollars to test this feature)
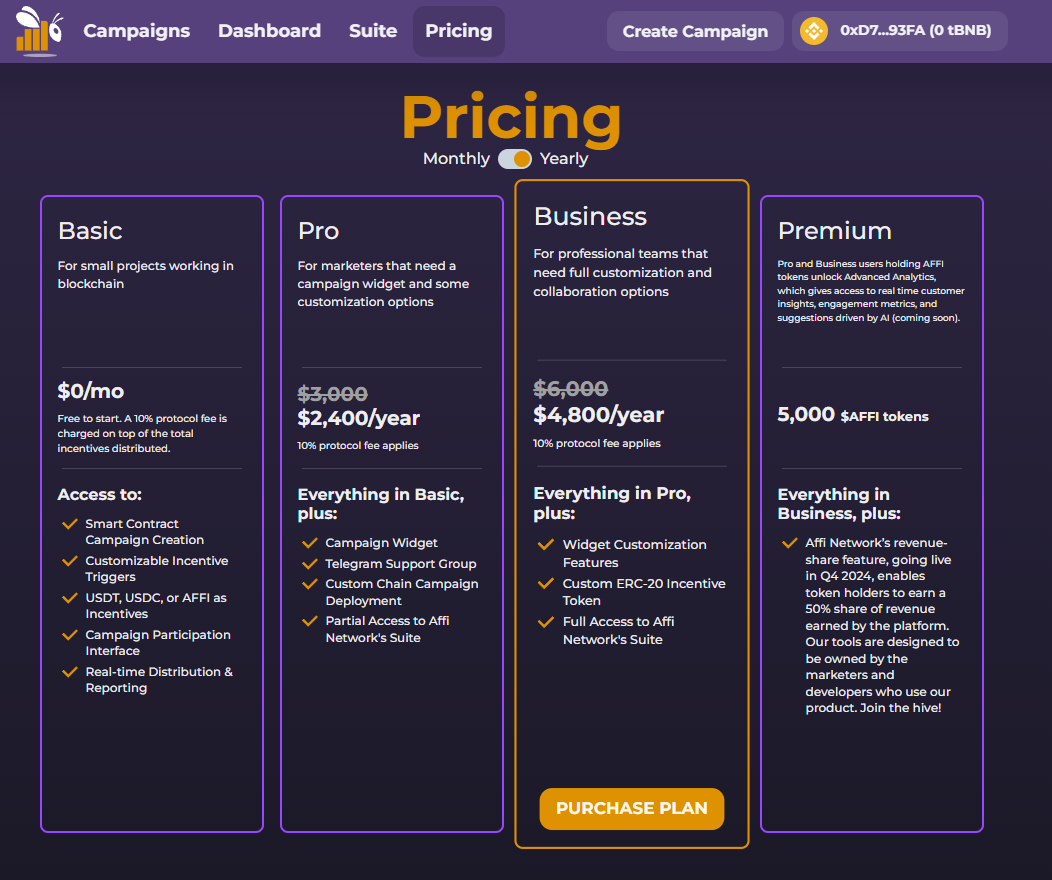
Step 4: Upgrade to the Business Plan.
You'll be taken to the pricing page. Select the Business plan and click “Purchase Plan.”
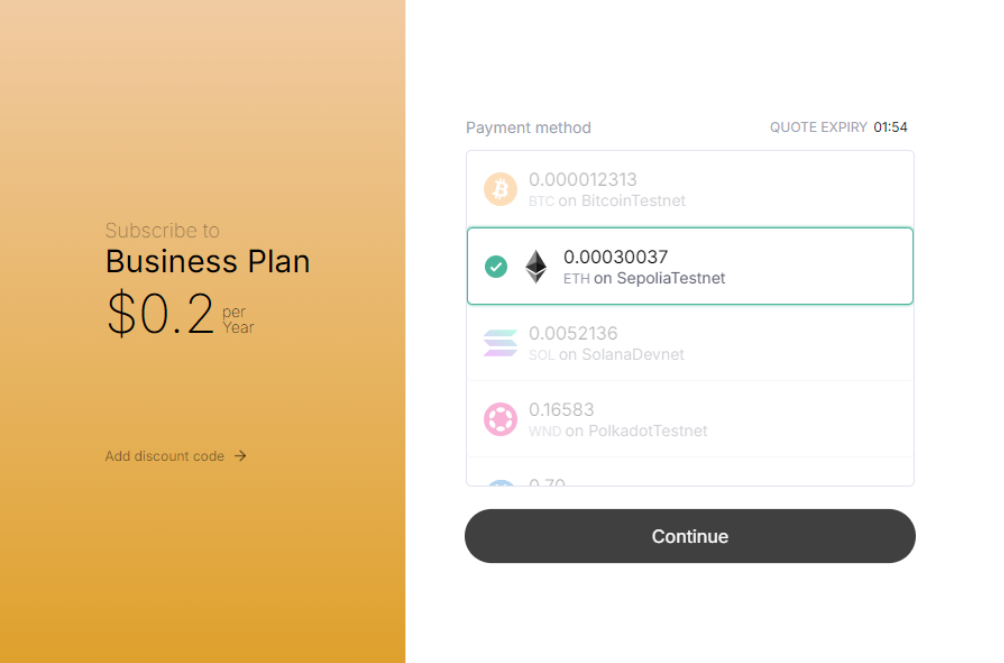
Step 5: Process Payment
Choose a testnet blockchain for your transaction (e.g. Sepolia Testnet).
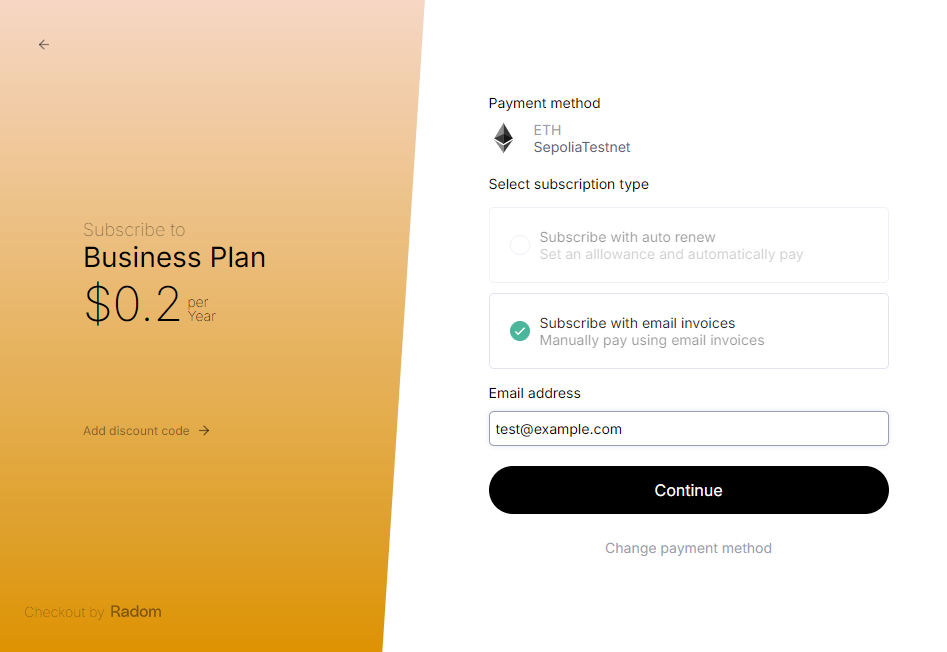
Enter your email address and, if desired, opt-in for email invoices.
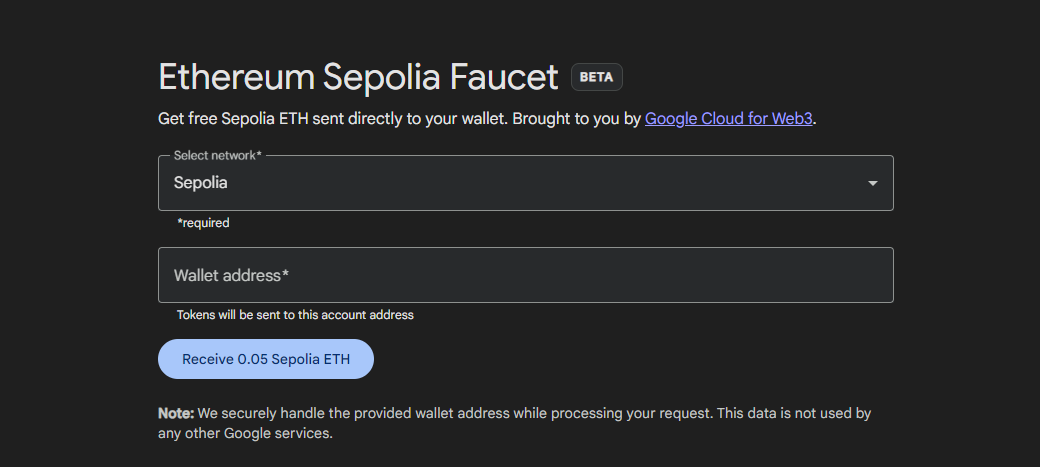
Step 6: Obtain Sepolia Testnet ETH.
Open your wallet and approve the payment, but you’ll need some Sepolia ETH to complete it.
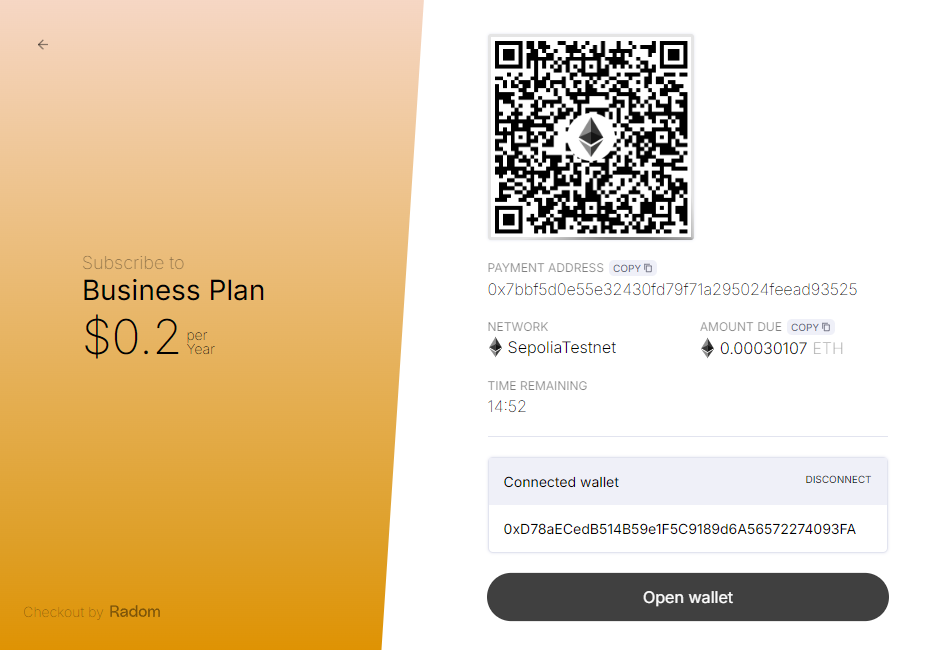
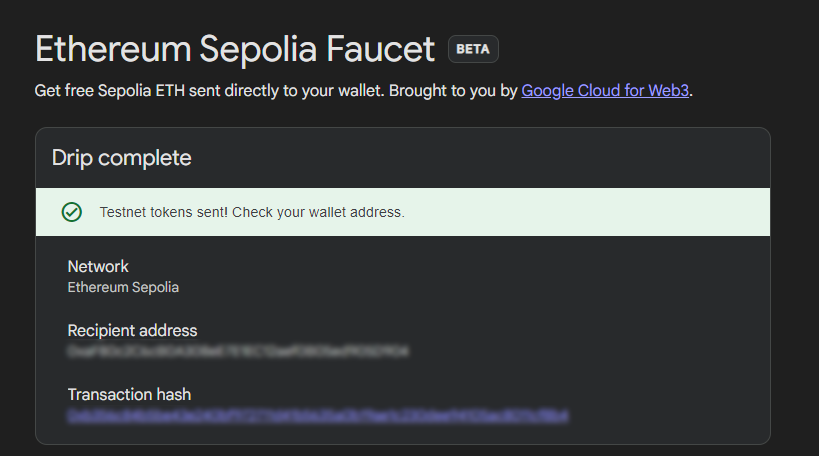
Visit Sepolia ETH Faucet, enter your wallet address, and click “Receive 0.05 Sepolia ETH.
Step 7: Complete Payment.
Once you have Sepolia ETH in your wallet, return to the payment process and finalize it.
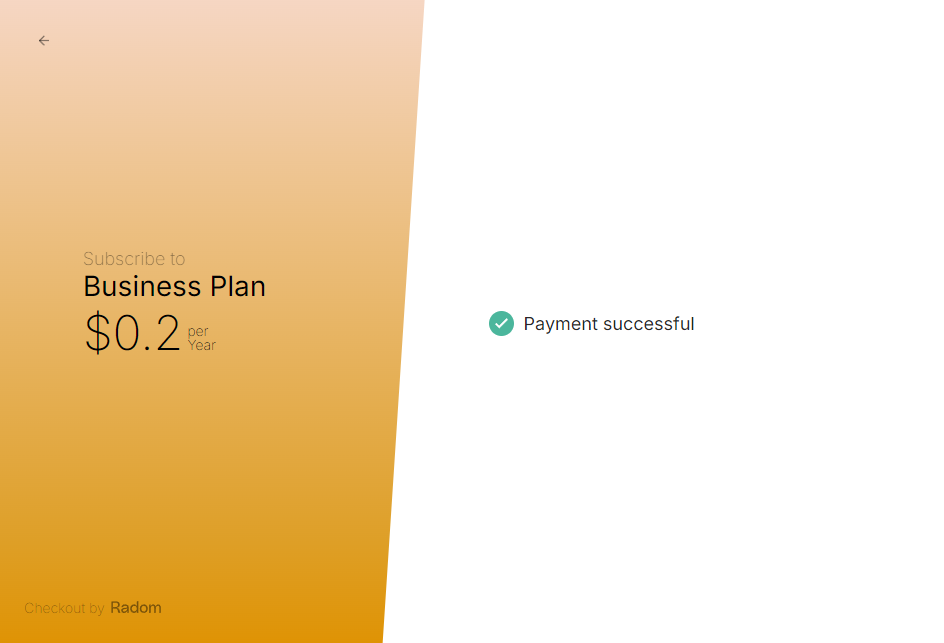
Step 8: Payment Confirmation. After a successful payment, return to the "Suite" to continue customizing your widget.
Step 9: Customize Your Footer.
Now that you're on the business plan, add your custom footer text, such as your company name.
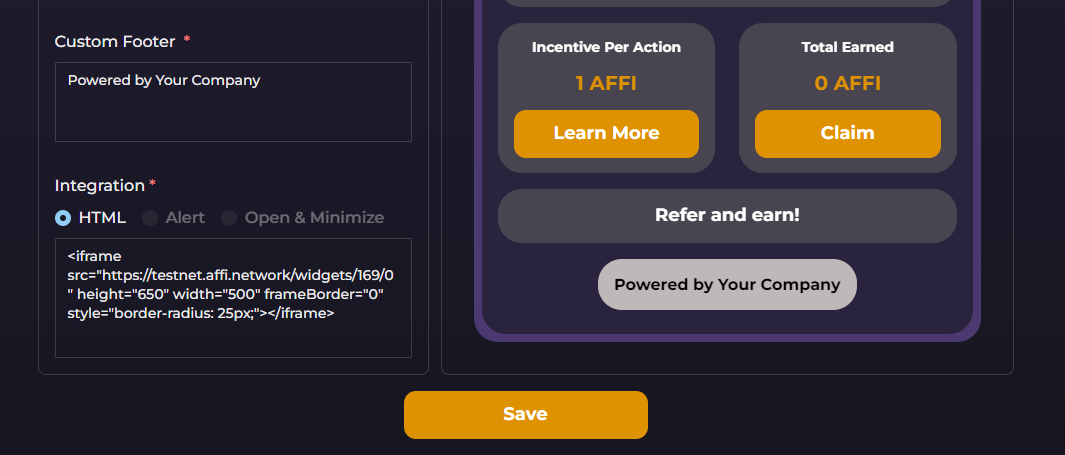
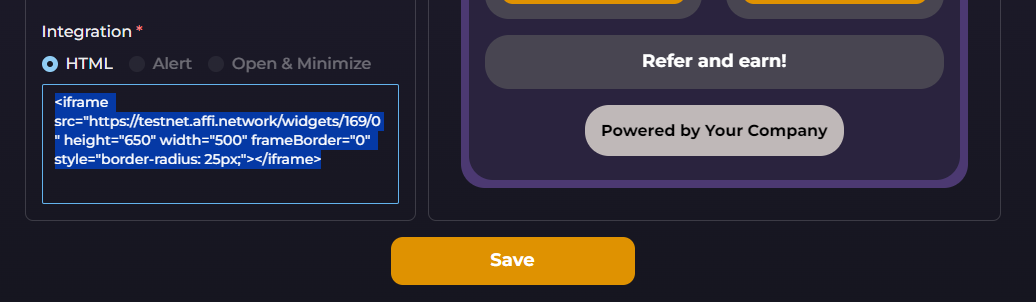
Step 10: Widget Integration.
Copy the HTML code and paste it into your website or dApp.
Don’t forget to click “Save” to ensure all customizations are applied.
Users can now participate in your incentive campaign, receive referral links, and claim incentives directly from your app.
This marks the completion of the widget customization and embedding part of this test.