
How to create a campaign? (1/3)
Step 1 - Connect your wallet
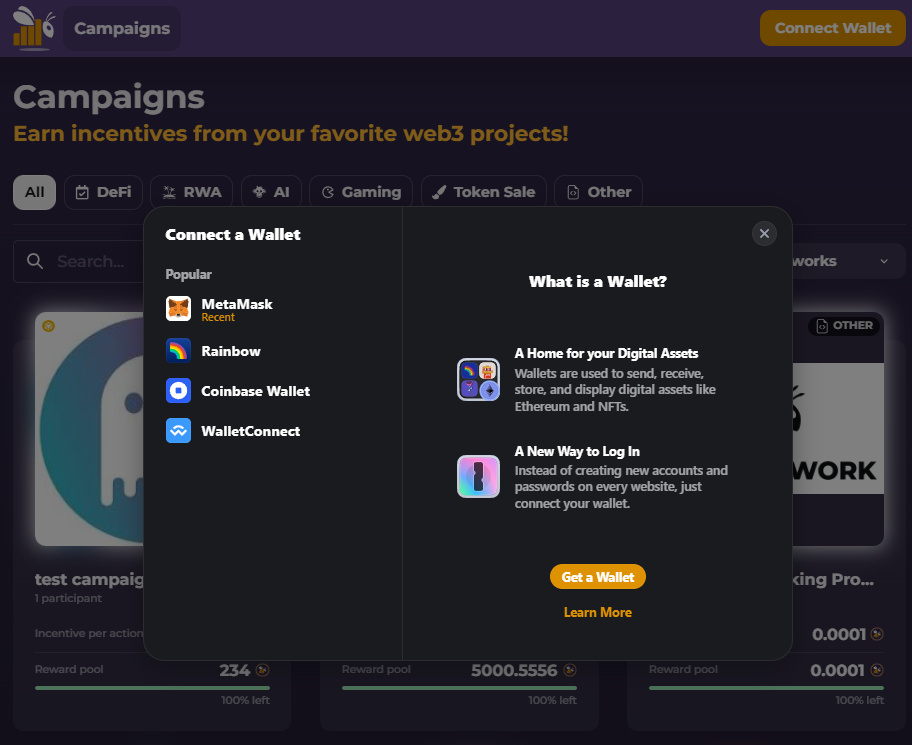
Visit our dApp and click on Connect Wallet and choose your favorite wallet. We currently support Metamask, Rainbow, Coinbase Wallet, and WalletConnect.
Step 2 - Sign your message
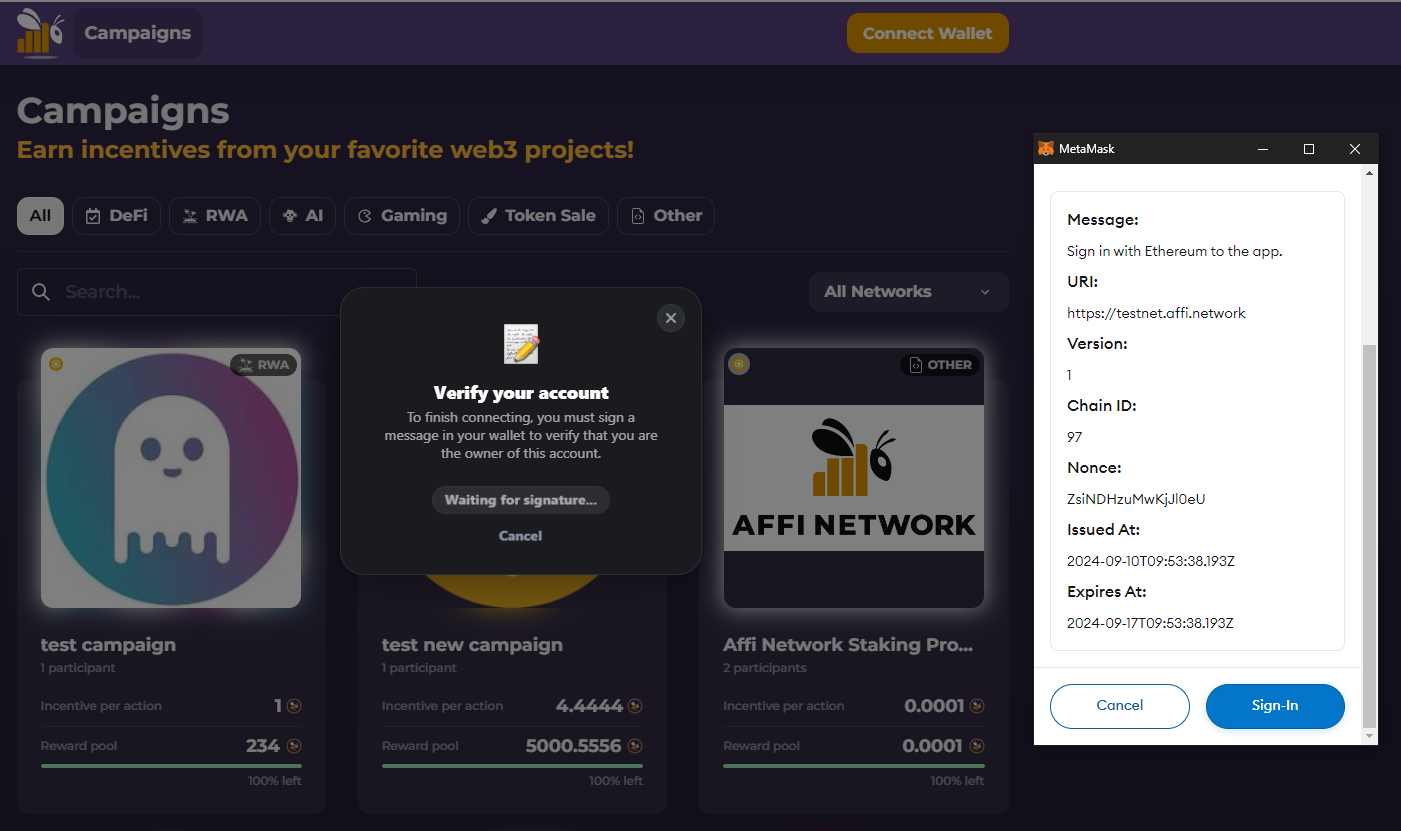
You'll be asked to sign a message with your wallet. This is simply a security measure to make sure you're the owner of your wallet.
Step 3 - Create a campaign
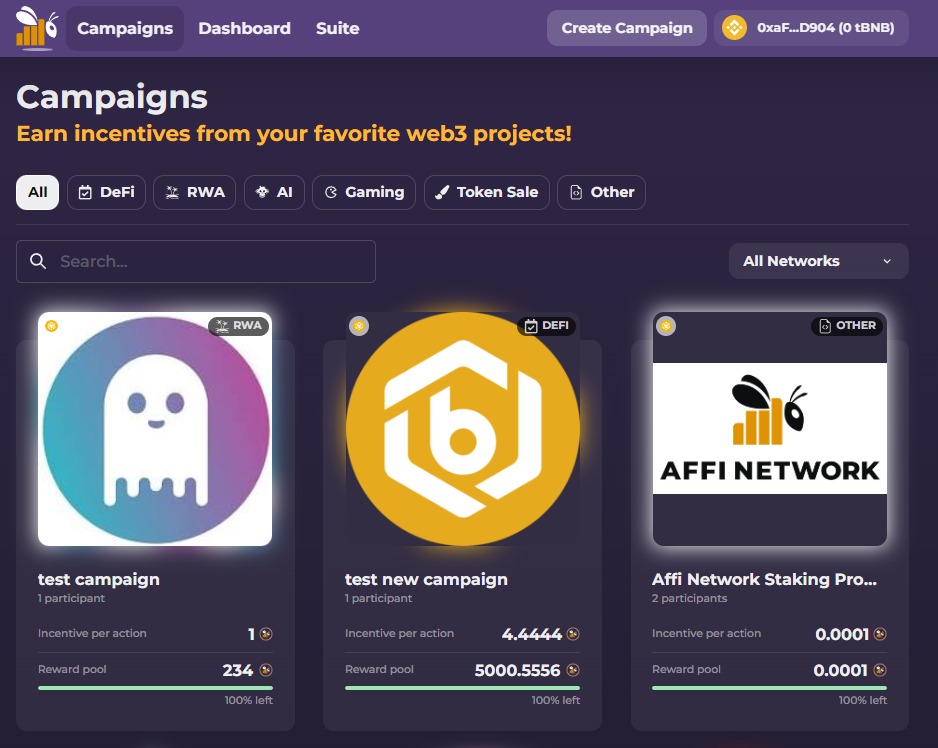
Now you are logged in, click on Create Campaign. The process to create a campaign is very easy and seamless. It’s similar to filling in a Google form.
Step 4 - Enter project details
Enter your campaign name, business category, and additional information. Fill this up to the best of your ability to make your campaign page informative and clear. The goal here is to make it easy for both affiliates and participants to understand what your business and campaign is about.

Step 5 - Enter Campaign Settings
On this page, we are customizing the triggers required for the incentive distribution. What must your user do to trigger the incentive? Which contract must they interact with?
Here you will choose your project’s chain, insert your project’s contract address, choose the on-chain action, set your custom parameter, select your token, and choose whether you want the campaign to be public or exclusive.
For this Testnet, you can pick any contract address from https://testnet.bscscan.com/. You will later be depositing to this specific contract address in this Testnet to ensure that the incentives are being credited based on your custom parameters. You’ll see!
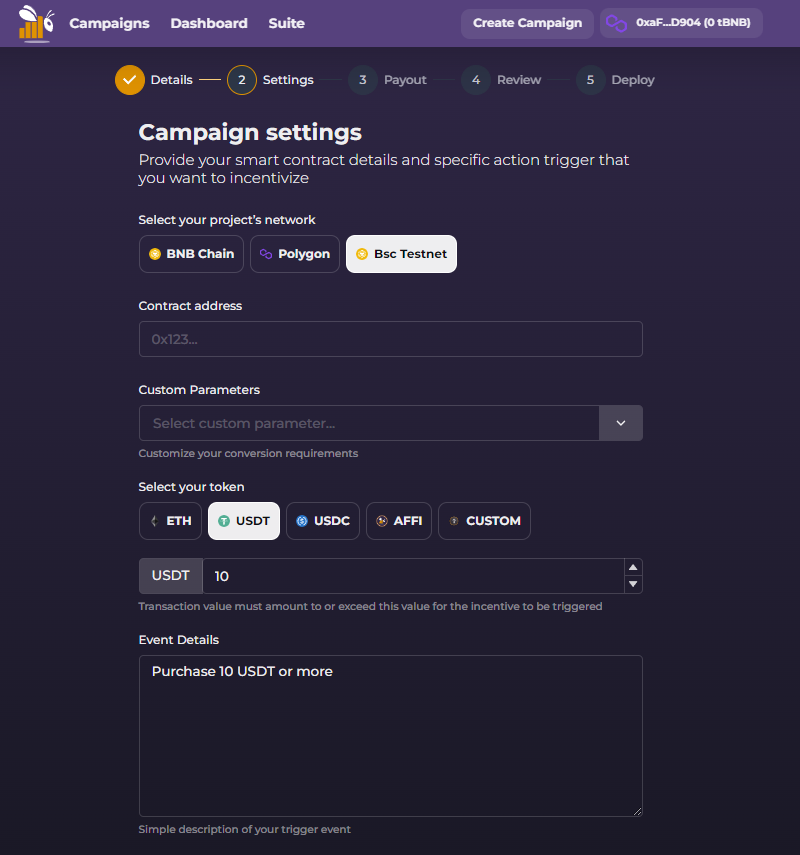
The custom parameter automatically appears as you enter your contract address. The custom parameter ‘Transfer Volume’ allows you to reward users who deposit more than this value (either via minting, purchasing, bridging, etc). ‘Select your token’ allows you to set the custom trigger. How much of which token must be deposited to the contract for the incentive to be triggered? You can pick any number for this test.

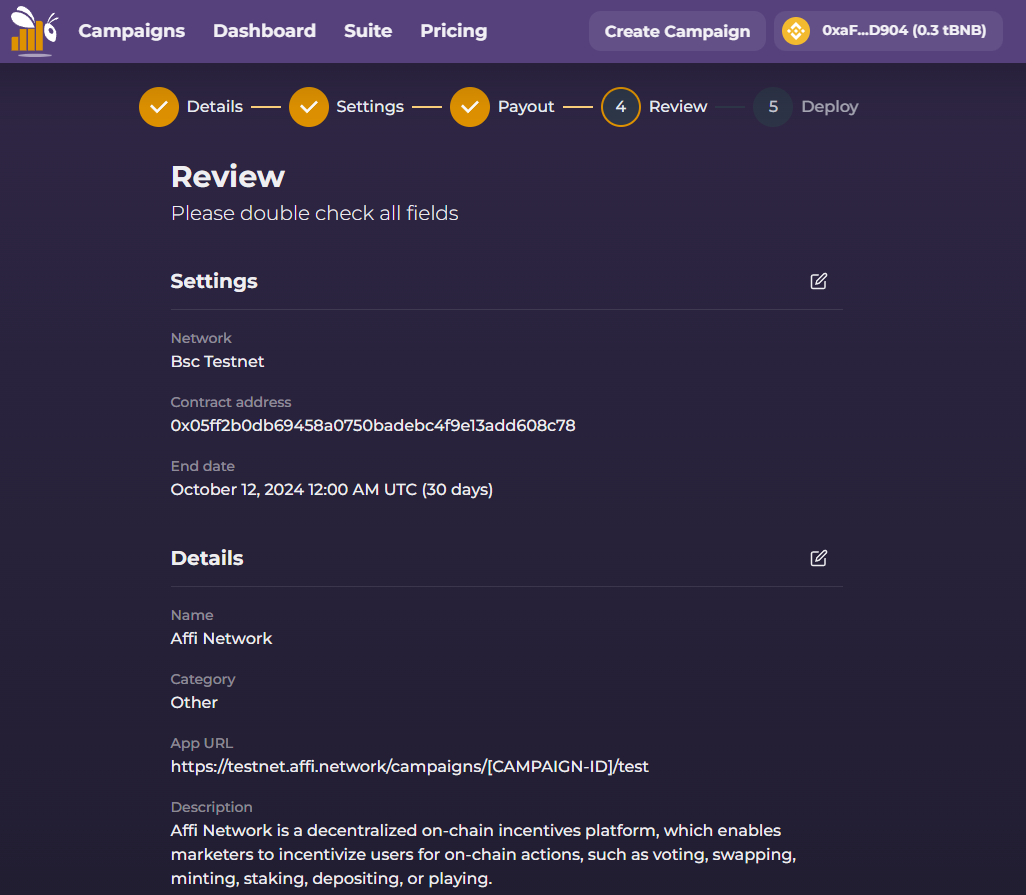
Step 7 - Review campaign details
Review your campaign details and make sure everything is correct. Then click next.
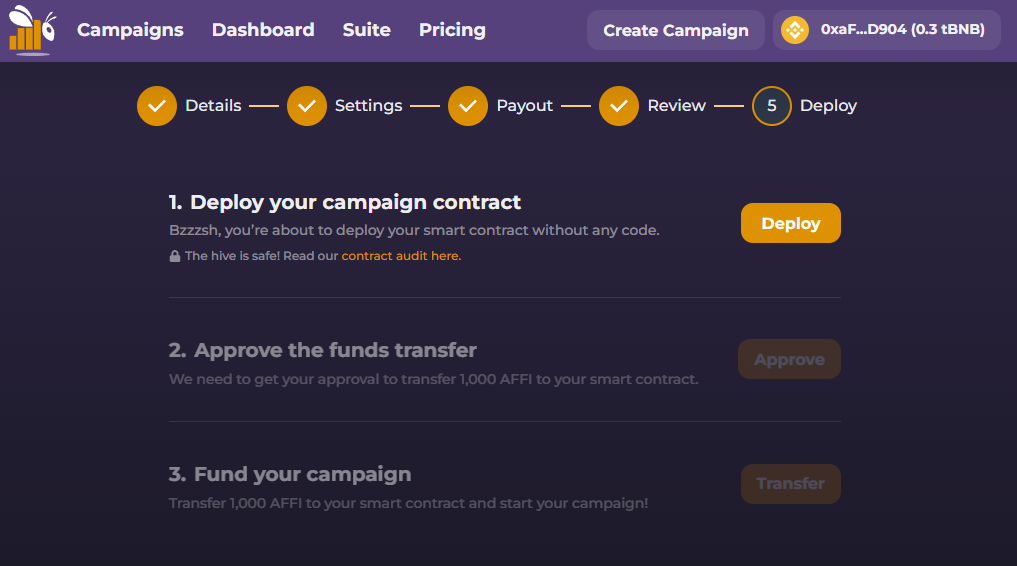
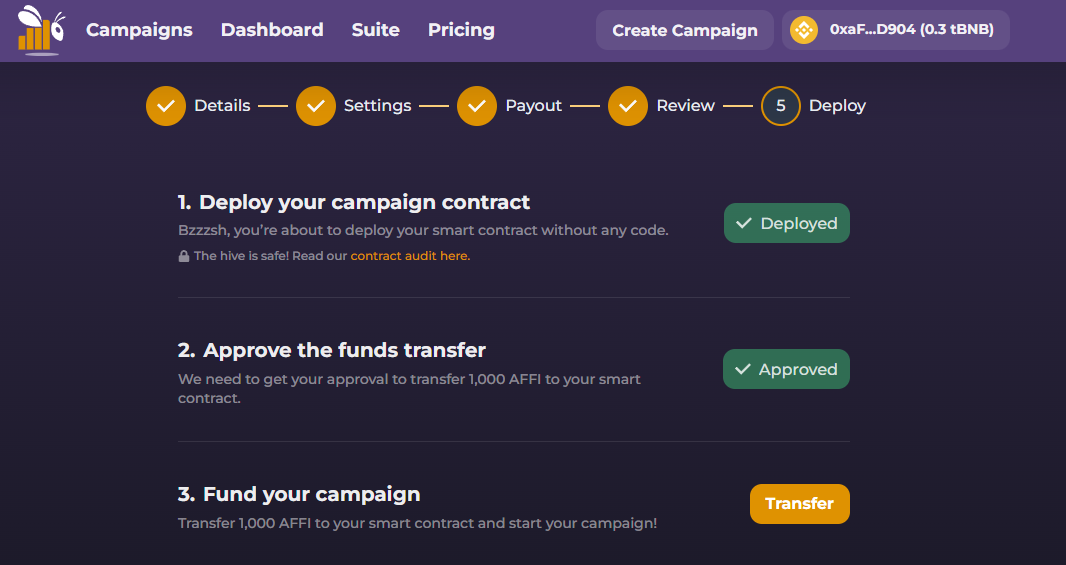
Step 8 - Deploy your smart contract
Make sure you are on BNB TESTNET.
Visit https://www.bnbchain.org/en/testnet-faucet to get some tBNB from the faucet. Make sure your wallet has at least 0.002 BNB on the BSC Mainnet to access the tBNB. Open another tab and do not leave this page, or you may have to create your campaign again.
Then click ‘Deploy’
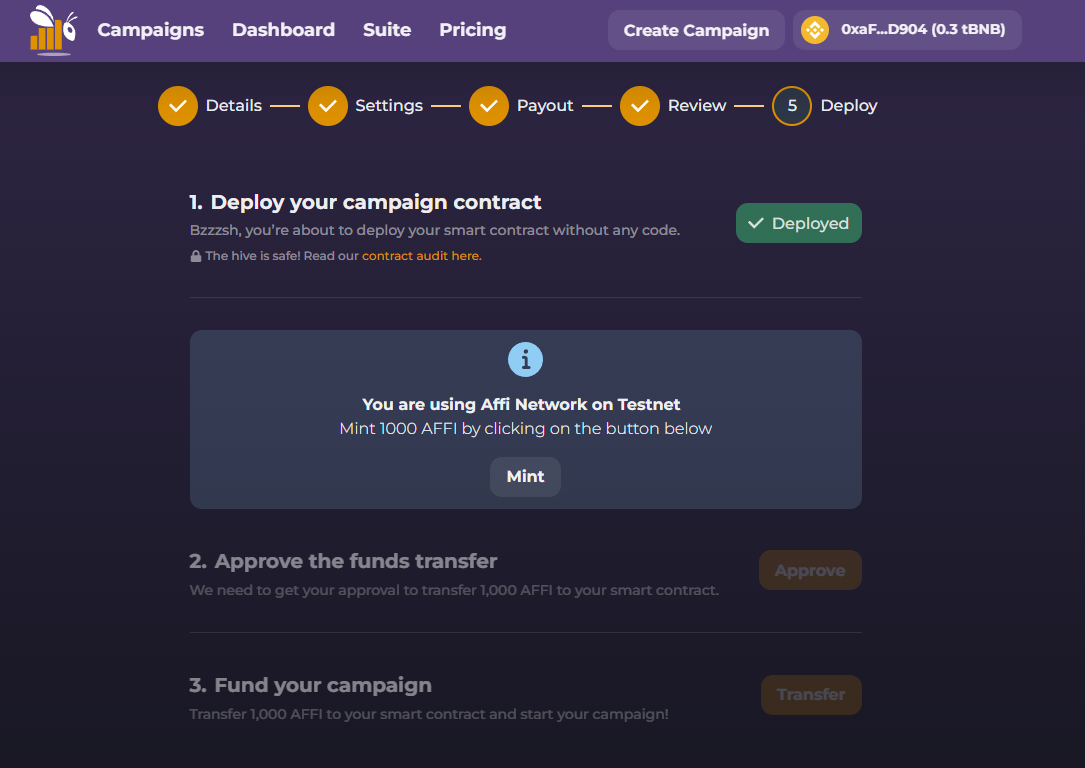
Step 9 - Mint your testnet token
If you do not have any testnet tokens, a pop-up message will prompt you to mint testnet tokens via Affi Network without having to go to a faucet.
Step 10 - Approve the funds
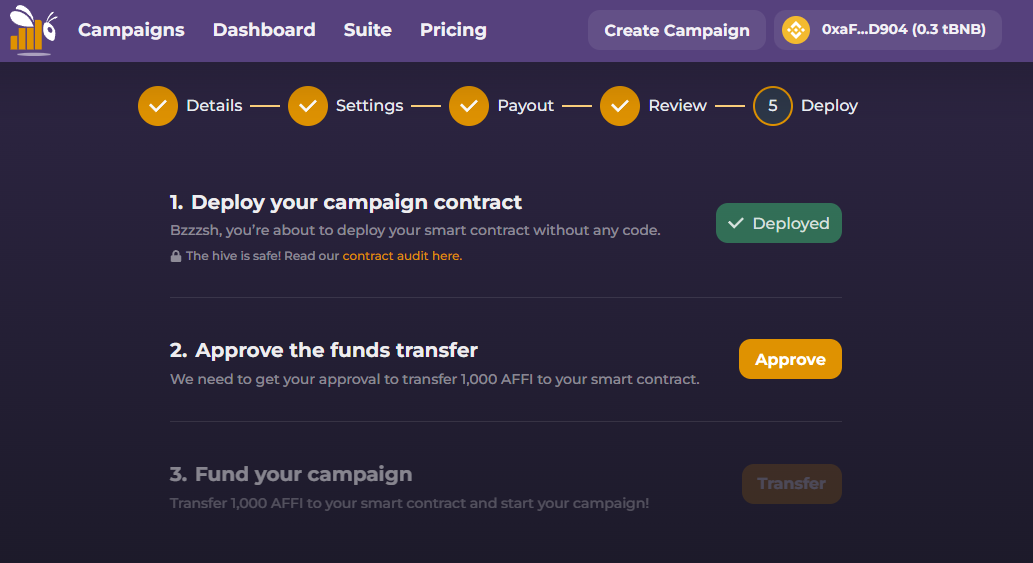
Step 11 - Fund your campaign
In this testnet, you'll be funding the campaign with the test tokens you just minted. The tokens are stored in your campaign contract, and works like an escrow. Once the event is triggered, the incentive will automatically be released to the participant.
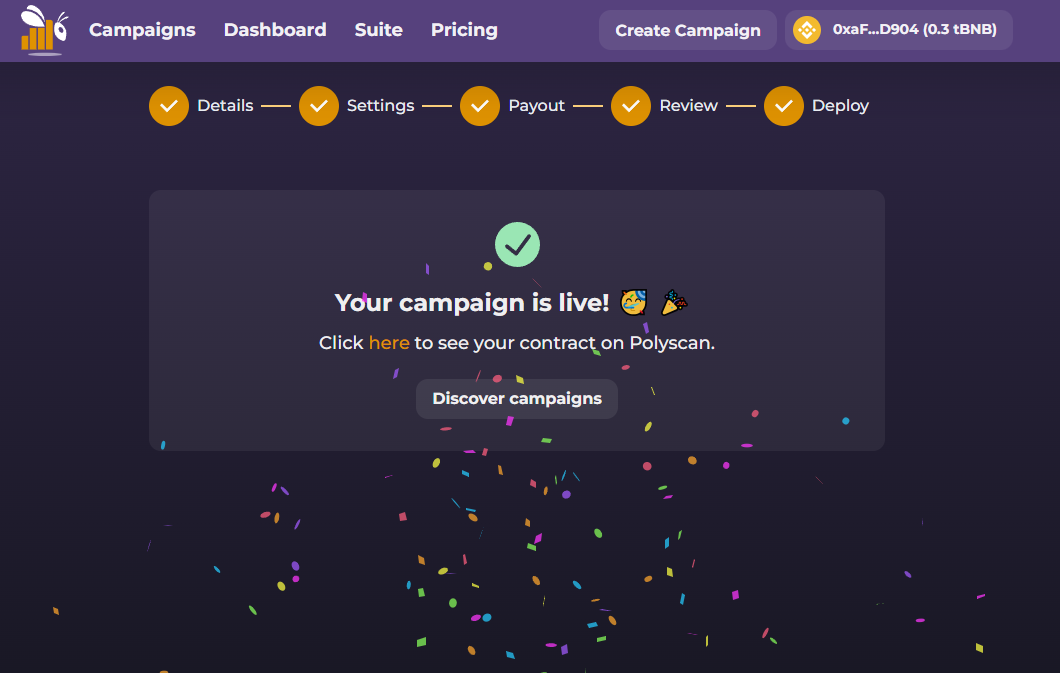
Step 12 - Congratulations, your campaign is live!
You're all set! You should be able to find your campaign on the campaigns listing page. You can now integrate it to a custom widget and embed it directly into your website or app from the Suite tab. Try it out!
This marks the completion of the campaign creation part of this test.